
Want healthier plants after transplanting? Start here. Transplanting delicate plants can be tricky, but with the right timing, tools, and techniques, you can minimize root damage and prevent transplant shock. Here’s what you need to know:
-
Key Steps for Success:
- Handle roots gently to avoid damage.
- Transplant during cooler parts of the day for better results.
- Use tools like the EarthLifter to reduce physical strain and improve success rates.
-
Why Timing Matters:
- A delay of one month can reduce plant yields by 25%; two months can cause up to 70% losses.
-
Essential Tools:
- Hand trowels for precision.
- Mechanical tools like the EarthLifter for speed and efficiency (reduces labor by up to 90%).
-
Aftercare Tips:
- Water thoroughly after transplanting.
- Use mulch to retain moisture and protect roots.
- Allow time for recovery, especially for larger plants.
Seedling Transplanting 101: Timing, Mistakes, and Pro Tips 🌿
Why Delicate Plants Need Special Care
Plants can be quite sensitive during transplanting, and if handled poorly, their recovery can be delayed by several days or even weeks.
Common Transplanting Risks
One of the biggest challenges when transplanting delicate plants is the vulnerability of their root systems. Gardening expert Logan Hailey explains:
"Transplant shock is the initial stress a tree or shrub may face after being moved to a new location. A poorly developed or damaged root system is often the underlying cause for a recently relocated and unhappy plant".
Several factors can harm plants during transplanting, but understanding these risks can help prevent them. Here's a quick breakdown:
| Risk Factor | Impact | Prevention |
|---|---|---|
| Root Damage | Limits water and nutrient absorption | Keep roots moist and handle them gently |
| Environmental Shock | Causes wilting and leaf drop | Transplant during cooler parts of the day |
| Soil Changes | Slows proper establishment | Match the new soil conditions as closely as possible |
| Physical Trauma | Damages stems and leaves | Hold plants by their leaves, not stems |
Benefits of Mechanical Transplanting
Using mechanical tools can make a huge difference when transplanting delicate plants. Tools like the EarthLifter Tool, designed with a 4:1 mechanical advantage, help minimize root damage while giving you better control during the process.
"Protecting the roots is key in preventing transplant shock, so always keep them out of direct sunlight and transplant them in the morning or evening." – Logan Hailey, Gardening Expert
Here’s why mechanical tools are so helpful:
- Root Protection: Tools with curved tines keep the root ball intact and ensure consistent planting depth.
- Reduced Strain: Less manual handling means less stress on both the plant and the gardener.
- Improved Success Rates: Combining proper water management with mechanical assistance leads to better transplant outcomes.
For the best results, keep the root ball moist throughout the process. Using diluted kelp or seaweed fertilizers can also help plants recover faster. These steps lay the groundwork for successful transplanting, which we'll explore further in the next section.
Tools for Safe Plant Moving
Having the right tools makes transplanting safer, faster, and more efficient. Modern mechanical tools, in particular, can significantly reduce labor while ensuring plant safety.
Mechanical and Hand Tools
While mechanical tools can handle heavy-duty tasks, traditional hand tools remain essential for detailed work. Here's a quick look at some tools that are commonly used for safe transplanting:
| Tool Type | Primary Use | Key Benefits |
|---|---|---|
| Hand Trowel | Creating planting holes | Offers precise control for small plants |
| Mechanical Transplanter | Large-scale moving | Cuts labor by up to 90% |
"One goal of transplanting is to keep the plant as intact as possible"
For those looking to take efficiency to the next level, advanced tools like the EarthLifter are game-changers. This tool, in particular, stands out for its innovative design and focus on reducing strain.
EarthLifter Tool Specifications
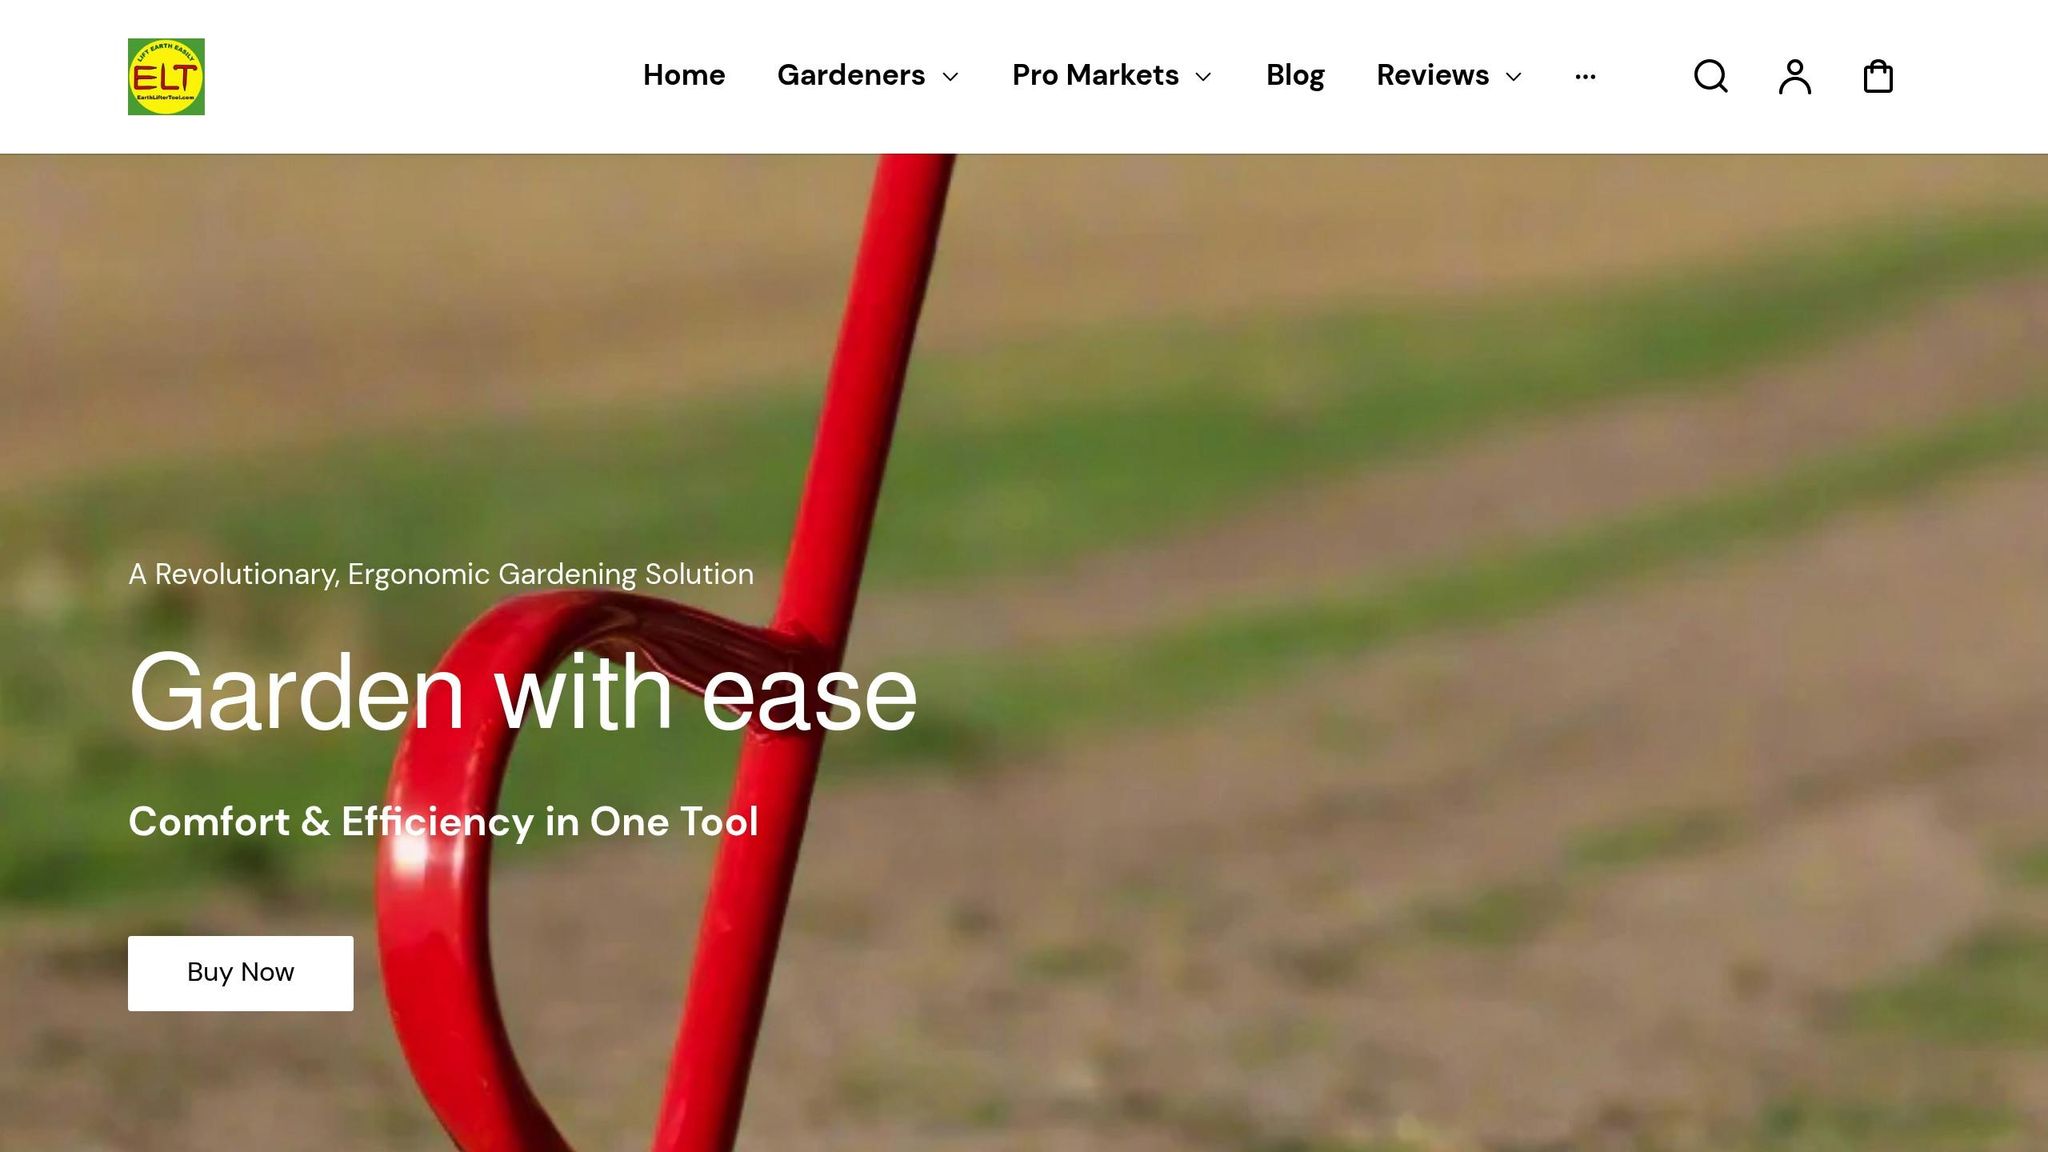
The EarthLifter is a tool designed to make transplanting easier while minimizing physical effort. Its design addresses common challenges gardeners face, such as strain on the hands and back. As the tool’s creator, Neil Bevilacqua, explains:
"After experiencing hand and spine issues, I created this tool to enable myself and others to enjoy work again."
- Neil Bevilacqua, Company Founder
Here’s what makes the EarthLifter unique:
- Construction: Made from heavy-duty 1020 carbon steel with a durable fire engine red powder coating.
- Dimensions: Measures 47 inches in length and weighs 8 pounds.
- Safety Features: Equipped with dual-wide diamond plate non-slip foot pads.
- Mechanical Advantage: Provides a 4:1 force multiplication ratio.
The tool’s patented "Rolling Fulcrum" design is particularly noteworthy. It works with gravity to reduce effort, as Ellen Wells from Planters Place explains:
"With the EarthLifter, on the other hand, you're pushing down instead of lifting up. Sure, there's some lifting involved once whatever you are dislodging from the soil has made it to the soil surface, but the major resistance - the 'stuckness' of your object in the soil - has been overcome with less effort on your part."
Additional features include:
- Nearly vertical lifting through curved tines.
- Gentle handling of root balls to avoid damage.
- One-handed operation for added convenience.
- Significant reduction in physical strain.
The benefits of mechanical tools like the EarthLifter extend beyond individual tasks. For example, one user noted:
"Labor and time savings are phenomenal. We can plant 2.5 acres in one, albeit long, day with just two people - one to drive and one to transplant - with our one-row transplanter. This frees us for the myriad other tasks that time of year - tending to weeding, for example."
Whether you're managing a large-scale planting operation or tackling smaller jobs, tools like these can make a world of difference.
sbb-itb-1801a3a
Plant Moving Instructions
Transplanting plants successfully takes thoughtful preparation to ensure they adjust well to their new environment.
Pre-Moving Steps
Getting plants ready for the move is key to their survival. Start by hardening off seedlings 1–2 weeks before transplanting. Begin with 2–3 hours of outdoor exposure each day, gradually increasing their time outside.
"By preparing your seedlings for wind, temperature fluctuations, and sunlight - and keeping an eye on moisture levels - you're giving them the best possible start in the field."
Healthy soil is just as important as healthy plants. About 2–3 weeks before transplanting, enrich the soil with compost and plan proper spacing based on the mature size of each plant.
Once your plants are ready and the soil is prepped, use the EarthLifter Tool for a smooth and careful extraction process.
Moving Plants with EarthLifter Tool
The EarthLifter Tool makes transplanting easier while protecting the plant's root system. Here's how to use it effectively:
| Step | Action | Key Consideration |
|---|---|---|
| Positioning | Place the tool vertically at the plant base | Ensure your footing is secure on both plates |
| Lifting | Push down on the handle | The tool offers a 4:1 mechanical advantage |
| Extraction | Lift straight up to keep the root ball intact | Reduces root damage during removal |
After-Move Plant Care
Proper care after transplanting is essential for helping plants re-establish themselves. Research from The Morton Arboretum indicates that trees can lose up to 90% of their root system during the transplant process.
Steps for Post-Transplant Care:
- Water the plant thoroughly right after transplanting.
- Add a 3–4 inch layer of organic mulch around the base, keeping it at least 6 inches away from the stems.
- Protect the plant from direct sunlight for the first few days.
- Water daily during the first week, then switch to deep watering once a week in warm weather. Increase watering frequency during hot conditions.
- Continue watering regularly until the leaves drop in the fall.
For perennial plants, trim back about one-third of the foliage to ease the stress on the roots. For annuals with a main stem, cut off half of each leaf to balance water needs.
Trees require more time to recover, typically about one year for every inch of trunk diameter. Keep the soil consistently moist but avoid overwatering, and skip fertilizing during the initial recovery period.
Fixing Common Moving Problems
Even with meticulous planning, transplanting plants can sometimes hit a few bumps. Here’s how to tackle some of the most frequent issues.
Root-Bound Plant Solutions
Root-bound plants need extra care during transplanting. When roots are tightly packed and circling, they must be gently untangled to encourage healthy growth in their new environment. Tools like the EarthLifter can help carefully separate the roots while preserving their structure, ensuring a safe and efficient transplant process.
For plants that are severely root-bound:
- Carefully loosen and separate the bottom roots.
- Trim away any dead or decaying roots.
While addressing cramped roots is critical, managing the stress plants experience during transplanting - known as plant shock - is just as important.
Reducing Plant Shock
Transplant shock often shows up in various ways, each requiring specific remedies:
"Transplant shock in plants is almost unavoidable; plants are not designed to be moved, and such movement inherently causes stress." - Heather Rhoades
| Symptom | Solution | Recovery Time |
|---|---|---|
| Wilting | Provide morning shade and keep soil consistently moist. | 1–2 weeks |
| Leaf Discoloration | Limit direct sunlight and apply diluted kelp fertilizer. | 2–3 weeks |
| Stunted Growth | Use deep watering to maintain moisture and add organic mulch to stabilize soil temperature. | 3–4 weeks |
These solutions work hand-in-hand with the transplanting techniques mentioned earlier in this guide.
"Transplant shock is a common challenge in gardening, and even though your houseplant or tree may look as though it has one foot in the grave, don't give up hope. If you've done all the right things to support your plant in its new home, usually time and patience are the only things needed."
Root Damage Recovery
If roots are damaged during transplanting, quick action is key to help the plant recover.
-
Initial Treatment
Apply a 2- to 4-inch layer of organic mulch around the base of the plant, making sure it doesn’t touch the stems or trunks. This will insulate the roots and help regulate soil temperature. -
Ongoing Care and Soil Improvement
Water deeply but less frequently to promote root growth, and enrich the topsoil with compost to encourage healthy microbial activity. For better soil aeration without disturbing the roots, vertical mulching techniques can be a great option.
Research suggests that using diluted kelp or seaweed fertilizer can significantly ease transplant shock and boost both root and shoot development. However, avoid standard fertilizers during the early stages of recovery, as they can add unnecessary stress to already damaged roots.
Keep a close eye on the plant’s progress, looking for signs of new growth. Most plants begin to recover within a few weeks when properly cared for. Larger plants, like trees, may take longer - about one year of recovery per inch of trunk diameter. Patience and consistent care are your best tools for success.
Conclusion
To achieve successful transplanting, it’s crucial to combine thoughtful planning, the right tools, and proper aftercare. The EarthLifter Tool, with its ergonomic design, reduces strain, minimizes root damage, and safeguards both the gardener and the plant.
Here’s a quick recap of the key factors to keep in mind:
- Site Preparation: Ensure the soil is enriched with organic matter and has adequate moisture.
- Root Handling: Use tools that reduce root disturbance to protect the plant’s integrity.
- Aftercare: Maintain consistent soil moisture and provide temporary shade for the plant.
- Monitoring: Regularly check for recovery signs and adjust care as needed.
"Starting a regular plant maintenance and inspection program to head off problems early and providing good aftercare will help maintain the health and vigor of your newly planted trees and shrubs".
Timing is everything - transplanting during the right season and ensuring the soil is in good condition can make all the difference. Tools designed with rolling fulcrums and curved tines are especially effective at preserving the fragile mycorrhizal network, which plays a key role in plant health.
FAQs
How can I reduce transplant shock when moving delicate plants?
When transplanting a plant, handling it with care is crucial to avoid unnecessary stress. Be gentle and keep the root ball intact to prevent root damage. To help the plant adjust to its new surroundings, gradually acclimate it by hardening it off. This process allows the plant to get used to changes in light, temperature, and wind.
Keep the soil consistently moist, but be careful not to overwater, as excessive moisture can add more stress. Adding a root-boosting fertilizer can support healthy root development, speeding up the recovery process. Providing proper care during and after the transplant ensures the plant has the best chance to settle and thrive in its new home.
What’s the best time of day and season to transplant delicate plants?
The best times to transplant delicate plants are early in the morning or late in the afternoon. These cooler periods help reduce heat stress, giving plants a chance to settle into their new surroundings without battling the intense midday sun. Cloudy days are also a great choice since they lower the risk of wilting.
As for the season, spring is ideal for transplanting most annual flowers once the danger of frost has passed. The warming soil creates the perfect conditions for healthy root development. Early fall is another excellent option, as the soil remains warm enough to encourage root growth before winter arrives. Steer clear of transplanting during periods of extreme heat or cold to ensure your plants have the best opportunity to thrive.
What makes the EarthLifter Tool a great choice for transplanting delicate plants?
The EarthLifter Tool is built with a 4:1 mechanical advantage, making it much simpler to lift and relocate delicate plants while minimizing the risk of strain or harm. This clever design significantly reduces the effort required, helping to keep fragile roots and stems safe during the transplanting process.
With its ergonomic design, the tool offers improved control and comfort, enabling gardeners to handle sensitive plants with care and precision. Whether you're a home gardening enthusiast or a professional, the EarthLifter Tool is a practical and easy-to-use solution for streamlining gardening tasks and ensuring your plants stay protected.